BENDIX BW1459 Manual de usuario
Busca en linea o descarga Manual de usuario para Sistema De Soldadura BENDIX BW1459. BENDIX BW1459 User's Manual Manual de usuario
- Pagina / 12
- Tabla de contenidos
- MARCADORES

Indice de contenidos
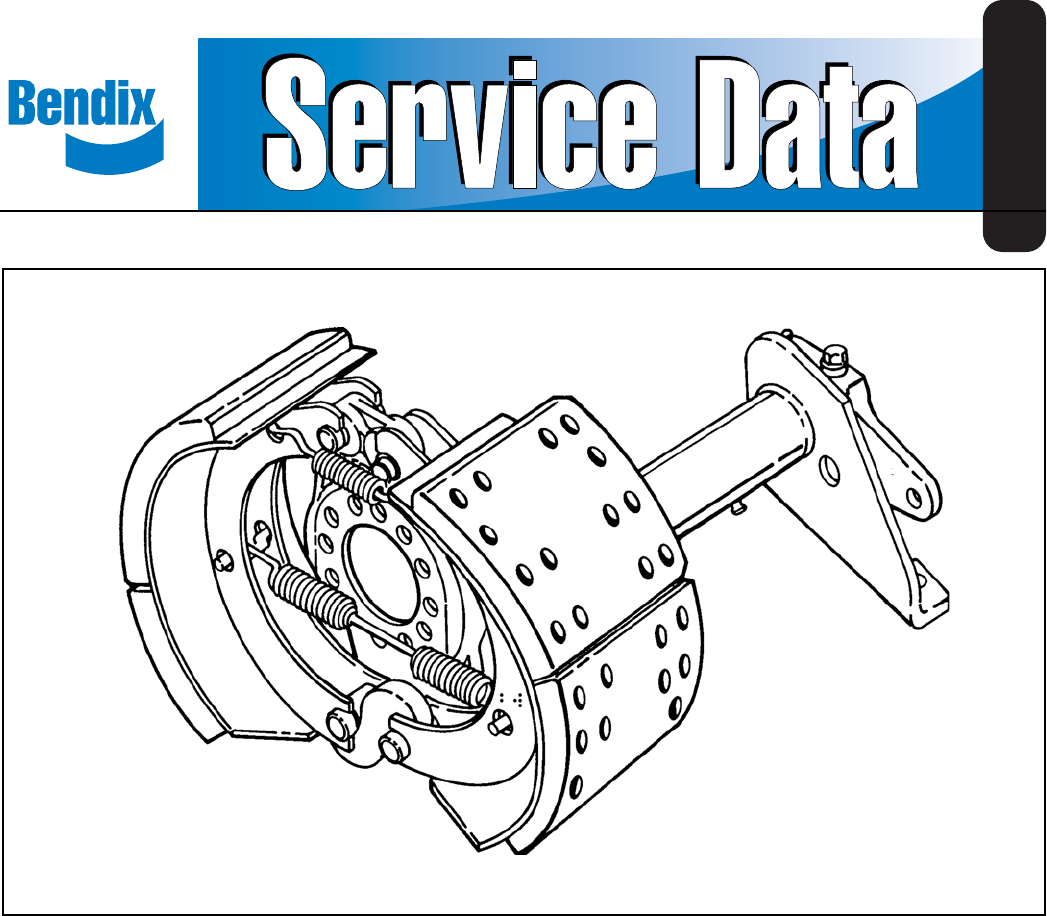
1®Bendix® Double Anchor Pin Cam BrakeSD-22-3260FIGURE 1GENERAL DESCRIPTIONThe Bendix 16-1/2” x 7” double anchor pin cam brake isdesigned for use on he
10BRAKE SHOE AND LINING TROUBLESHOOTING CHARTSYMPTOM CAUSE REMEDY1. Poor lining to drum A. Bell-mouth drum. A. Replace part.contact. B. Bent brake spi
118. Loose lining. A. Improper size rivets (too long, too A. Re-rivet.short, improper diameter).B. Improper crimping of rivet. B. Re-rivet.C. Enlarged
12BW1459 © 2004 Bendix Commercial Vehicle Systems LLC All rights reserved. 5/2004 Printed in U.S.A.
2FIGURE 2 - 16-1/2” DOUBLE ANCHOR PIN S-CAM BRAKE1617143018151319891326252411109871243651220212322Key No. Description Qty.1 Snap ring 12 Spacer washer
3PREVENTIVE MAINTENANCE1. BRAKE ADJUSTMENTWeekly, or whenever push rod stroke exceeds maximumdistance listed on the following chart. For completeadjus
4FIGURE 5 - REMOVING SHOESFIGURE 4 - REMOVING SHOE RETURN SPRINGFIGURE 7 - REMOVING ACTUATOR BRACKETFIGURE 6 - REMOVING SLACK ADJUSTERPREPARATION1. Pa
5DISASSEMBLY (See Figure 2)1. Insert a sturdy lever between one of the shoes and thecam shaft housing. Pry shoe away from cam roller untilpin and roll
6FIGURE 9 - SEAL INSTALLATIONSLACK ADJUSTER END.094”NOTE: BOTH LIP SEALS POINT THE SAME DIRECTION LIPTOWARD SLACK ADJUSTERLIP SEALFIGURE 8 - CHECKING
7FIGURE 10USE RIVETS OF CORRECT LENGTH AS SHOWNCORRECTTOO LONGTOO SHORTCAUTION: The lip of the grease seals must be installedcorrectly to prevent poss
8prevent the initial rusting problem. Before riveting, clamp theblocks tightly to the shoe, placing the clamps close to therivet holes. Be sure the ho
9FOUNDATION BRAKE TROUBLESHOOTING CHARTSYMPTOM CAUSE REMEDY1. Degraded brake A. Too much push rod free travel. A. Adjust brakes.performance. B. Severe
Relacionado con productos y manuales para Sistema De Soldadura BENDIX BW1459
 (4 paginas)
© 2020, manymanuals.es. Todos los derechos reservados | 0.021 s |
 Manymanuals.com
 Manymanuals.de
 Manymanuals.fr
 Manymanuals.it
 Manymanuals.pl
 Manymanuals.cz
 Manymanuals.es
 Manymanuals-pt.com
Comentarios a estos manuales